Last Updated on August 12, 2025 by Kathay Lee
How to Sharpen Fillet Knife: Complete Guide for Perfect Fish Filleting
A sharp knife makes all the difference when filleting fish. Dull blades tear meat and waste good fish. Sharp fillet knives glide through fish with ease. They create clean cuts and preserve more meat.
This guide shows you how to sharpen fillet knife properly. You will learn the best tools and techniques. We cover everything from basic sharpening to expert tips. Whether you use a Rapala fillet knife or another brand, these methods work.
Many anglers struggle with dull knives. They think sharpening is hard or expensive. The truth is simple. With the right knowledge, anyone can maintain razor-sharp blades. You just need to know the correct sharpening angle and proper technique.
What Makes Fillet Knives Different
Fillet knives are not like other kitchen knives. They have thin, flexible blades. This flexibility helps them follow fish bones and curves. A chef knife is thick and rigid. It cannot bend like a fishing knife.
The blade thickness affects sharpening. Thin blades need gentle pressure. Too much force can damage the edge. Fillet knives also use different steel than a kitchen knife. This steel stays sharp longer but needs special care.
Blade length varies from 4 to 11 inches. Longer blades work better for large fish. Shorter blades give more control for small fish. The boning knife is similar but stiffer. It cannot flex like a true fillet knife.
Most fillet knives have a single bevel edge. This means only one side gets sharpened. Some models have double bevels like a pocket knife. Check your knife before you start sharpening. The wrong technique can ruin the blade.
Signs Your Fillet Knife Needs Sharpening
A dull knife shows clear warning signs. The blade will not cut paper cleanly. It tears instead of slicing. When filleting, the knife catches on skin. You need more pressure to cut through meat.
Look at the blade edge closely. A sharp knife reflects light evenly. Dull spots look darker or rounded. Nicks and chips also show damage. These need fixing before regular sharpening.
Test sharpness safely on a tomato. A sharp blade cuts the skin without crushing. Dull blades squash the tomato. This test works for any sharp knife in your kitchen.
Never use a dull blade on fish. It makes filleting harder and dangerous. Dull knives slip more often. They can cut your hand instead of the fish. A sharp knife is actually safer to use.
Essential Sharpening Tools
Sharpening Stones
Sharpening stones give the best results. They come in different grits. Coarse grits (200-400) fix damaged blades. Medium grits (800-1000) do regular sharpening. Fine grits (3000+) polish the edge.
Water stones work great for kitchen knives and fillet knives. Soak them in water before use. Oil stones use mineral oil instead. They cut slower but last longer.
Diamond stones cut fastest. They work well on hard steel. Ceramic stones give very fine edges. They work best for finishing touches.
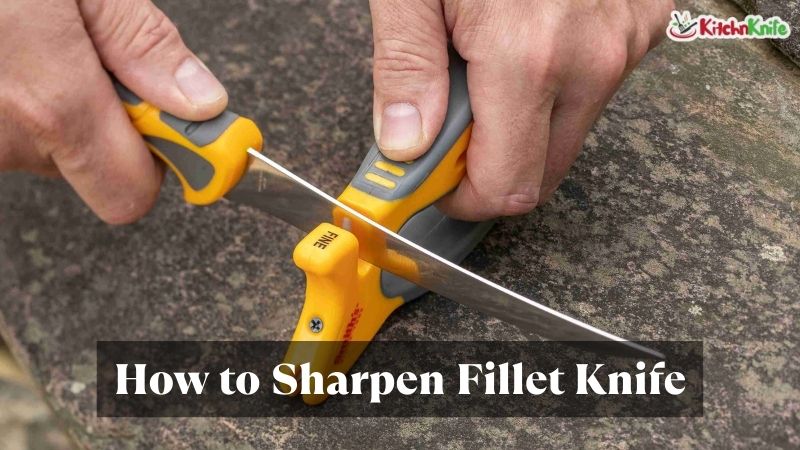
Handheld Sharpeners
The AccuSharp is a popular tool sharpener. It has preset angles for easy use. Just pull the knife through the guides. These work well for quick touch-ups.
Stick sharpeners fit in tackle boxes. They are perfect for field sharpening. Some models work on serrated edges too. They cannot fix badly damaged blades though.
Electric Sharpeners
Electric sharpeners work fast on kitchen knives. They have multiple stages for complete sharpening. Some models handle different blade types. Check if yours works on thin fillet knives.
Be careful with electric sharpeners. They remove metal quickly. It is easy to over-sharpen thin blades. Practice on old knives first.
Finding the Right Sharpening Angle
The sharpening angle affects cutting performance. Most fillet knives use 15-20 degrees per side. This creates a sharp, thin edge. A chef knife typically uses 20-22 degrees.
Rapala fillet knives come sharpened at 16 degrees. This angle works well for fish filleting. It balances sharpness with durability. Thinner angles cut better but dull faster.
Use an angle guide for consistent results. Many sharpening stones include guides. They clip onto the blade to maintain angle. This helps beginners get good results.
Some fishing knives use single-bevel edges. These only sharpen on one side. The back stays flat and polished. This style cuts very cleanly but needs special technique.
Step-by-Step Sharpening Process
Preparation
Clean the knife before sharpening. Remove any fish scales or debris. Set up your workspace with good lighting. Have water or oil ready for your stones.
Secure the sharpening stone firmly. It should not move during use. Place a towel underneath to prevent slipping. Keep your fingers away from the blade edge.
Stone Sharpening Technique
Start with the coarse grit stone. Hold the knife at the correct angle. Draw the blade across the stone smoothly. Start at the heel and finish at the tip.
Use light pressure – let the stone do the work. Count your strokes to keep both sides even. Most knives need 10-15 strokes per side. Check your progress often.
Move to finer grits gradually. Each grit removes scratches from the previous one. The final grit creates the polished edge. This process takes time but gives excellent results.
Test sharpness after each grit. The knife should cut paper cleanly. If not, continue with the current grit. Do not rush to finer stones too quickly.
Using Handheld Sharpeners
Handheld sharpeners are faster but less precise. Place the knife in the guides correctly. Pull through with steady pressure. Follow the manufacturer’s instructions.
Most handheld sharpeners have two stages. Coarse slots repair damaged edges. Fine slots polish and finish. Use each stage the right number of times.
Clean the sharpener slots regularly. Metal filings can scratch your blade. Some models have replaceable parts when worn out.
Advanced Sharpening Tips
Professional knife sharpeners use several tricks. They maintain consistent hand position throughout the stroke. This keeps the angle steady and creates even bevels.
Use a marker to check your angle. Color the edge with permanent marker. Sharpen a few strokes and check the marks. They should wear off evenly across the bevel.
Strop your knife after sharpening. Use leather or newspaper to polish the edge. This removes the tiny burr left by stones. Stropping keeps knives sharp between major sharpenings.
Some experts sharpen in sections. They do the heel separately from the tip. This lets them control the pressure better. It also helps with curved blades that touch the stone differently.
Maintenance and Care
Sharp knives need proper care to stay sharp. Clean them after each use with soap and water. Dry completely to prevent rust. Store in knife blocks or magnetic strips.
Never put fillet knives in the dishwasher. The heat and detergent damage the steel. Hand washing preserves the edge longer. Use cutting boards that are gentle on blades.
Hone your knife regularly between sharpenings. A honing steel realigns the edge without removing metal. This extends time between full sharpenings. Use light pressure and maintain the same angle.
Store knives properly to protect edges. Blade guards prevent nicks during transport. Tackle box storage can dull knives quickly. Keep them separated from other tools.
Common Sharpening Mistakes
Wrong Angles
Using the wrong sharpening angle ruins knife performance. Too steep makes the blade thick and hard to use. Too shallow makes it fragile and prone to chipping. Stick to manufacturer recommendations.
Over-Sharpening
Taking off too much metal shortens knife life. Sharp does not mean over-sharpened. Stop when the knife cuts cleanly. More sharpening will not improve performance.
Inconsistent Technique
Changing angles mid-stroke creates uneven bevels. This makes the knife cut poorly. Practice smooth, consistent strokes. Keep the same hand position throughout.
Skipping Grits
Jumping from coarse to fine grits leaves scratches. These create weak points in the edge. Use progressive grits for best results. Each step should remove marks from the previous grit.
Frequently Asked Questions
How often should I sharpen my fillet knife? Sharp fillet knives need sharpening every 2-3 fishing trips with heavy use. Light users may go months between sharpenings. Test sharpness regularly rather than following a schedule.
Can I use kitchen knife sharpeners on fillet knives? Most kitchen knife sharpeners work on fillet knives. Check that your sharpener handles thin, flexible blades. Some electric models are too aggressive for delicate fillet knives.
What is the best sharpening angle for fish filleting? Most fillet knives work best at 15-18 degrees per side. This creates a sharp edge that cuts fish cleanly. Steeper angles are more durable but cut less smoothly.
Do expensive sharpening stones work better? High-quality stones last longer and cut more consistently. Cheap stones may have uneven surfaces or poor grit ratings. Good stones are worth the investment for serious users.
Can I sharpen serrated fillet knives? Serrated blades need special tools and techniques. Most require individual attention to each serration. Consider professional sharpening for serrated fishing knives.
How do I know when my knife is sharp enough? A properly sharpened fillet knife should slice paper cleanly without tearing. It should cut through fish skin with minimal pressure. The edge should feel smooth without nicks or rough spots.
Should I oil my fillet knife after sharpening? A light coat of mineral oil helps prevent rust on carbon steel blades. Stainless steel knives need less protection. Always clean off excess oil before use.
Conclusion
Sharp fillet knives make fishing more enjoyable and productive. They create clean cuts and preserve more fish meat. Regular sharpening keeps your knife performing at its best.
Choose the right tools for your needs and budget. Sharpening stones give the best results but take more time. Handheld sharpeners are faster for quick touch-ups. Practice proper technique for consistent results.
Remember that a sharp knife is safer than a dull one. Take time to maintain your fishing knife properly. Good sharpening skills will serve you well for years of successful fishing.