Last Updated on June 24, 2026 by Kathay Lee
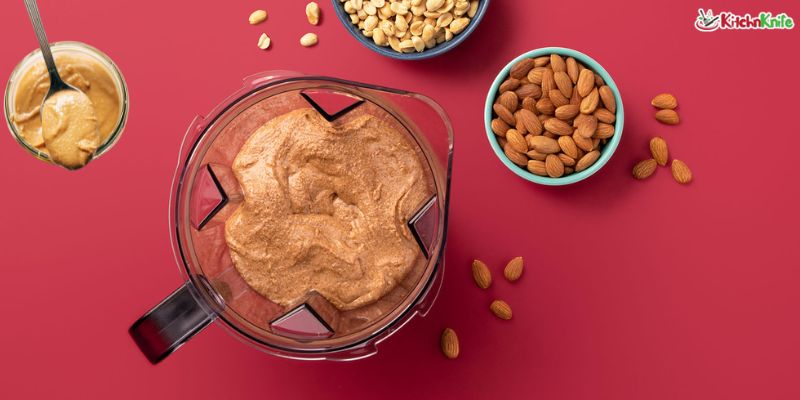
Making nut butter at home is easier than most people think. You do not need fancy equipment or a long list of ingredients. All you need is a blender, some nuts, and a few minutes.
Homemade nut butter is fresher, cheaper, and healthier than store-bought versions. You control every ingredient. No added sugars, no preservatives, no mystery oils.
Whether you want almond butter, peanut butter, or cashew butter, this guide covers everything. Let us get started.
What You Need
Here is a simple list of things to gather before you begin:
Ingredients:
- 2 cups of raw or roasted nuts (almonds, peanuts, cashews, or walnuts)
- A pinch of salt (optional)
- 1 teaspoon of honey or maple syrup (optional, for sweetness)
- 1 teaspoon of coconut oil (optional, helps with texture)
Equipment:
- A high-powered blender
- A spatula
- A clean glass jar for storage
That is it. Simple and clean.
Best Blenders for Nut Butter
Not every blender handles thick nut butter well. Here are the best types to use:
High Speed Blenders work best. Models with motors above 1000 watts handle dense nut paste with ease. Brands like Vitamix, Blendtec, and Ninja are popular choices.
Personal Blenders can work for small batches. They are good for soft nuts like cashews or macadamia nuts.
Standard Blenders may struggle. They tend to overheat with thick batches. If this is all you have, blend in short bursts and take breaks.
A food processor is an alternative if your blender struggles.
How to Make Nut Butter in a Blender (Step by Step)
Follow these simple steps for perfectly smooth nut butter every time.
Step 1: Roast the Nuts (Optional but Recommended)
Spread your nuts on a baking sheet. Roast at 175 degrees Celsius (350 degrees Fahrenheit) for 8 to 10 minutes. Roasting brings out natural oils and adds a deeper flavor. Let them cool for 5 minutes before blending.
Step 2: Add Nuts to the Blender
Pour the nuts into the blender jar. Do not overfill. Two cups is a good starting amount for most blenders.
Step 3: Start Blending on Low
Turn the blender on low speed first. Let it run for 30 seconds. The nuts will break into a rough, crumbly powder.
Step 4: Increase Speed Gradually
Move to medium speed. Blend for another 1 to 2 minutes. The nuts will start to clump together as their natural oils release.
Step 5: Scrape Down the Sides
Stop the blender. Use a spatula to push the nut mixture down from the sides. This step is important for even blending.
Step 6: Blend on High Speed
Turn the blender to high speed. Blend for 2 to 4 more minutes. The mixture will go from chunky to thick to smooth and creamy.
Step 7: Add Salt, Oil, or Sweetener (Optional)
Now is the time to add any extras. A pinch of salt, a drizzle of honey, or a teaspoon of coconut oil all work well. Blend for another 30 seconds to combine.
Step 8: Check the Texture
Taste your nut butter. If it feels too thick, add a small splash of neutral oil and blend again. If you want it chunkier, stop blending a little early.
Step 9: Transfer and Store
Pour the nut butter into a clean glass jar. It is ready to eat right away.
Total blending time: Around 5 to 8 minutes depending on the nut type and blender power.
Tips for Smooth and Creamy Nut Butter
Getting the perfect texture takes a little practice. These tips will help:
- Use warm nuts. Freshly roasted nuts blend faster and release oils more easily.
- Be patient. The blending process goes through stages. It looks dry and crumbly at first. Keep going. It will become creamy.
- Scrape often. Stopping to scrape the sides every couple of minutes helps a lot.
- Do not rush. Avoid running the blender non-stop for too long. Let it rest 30 seconds between long blending sessions if it gets hot.
- Softer nuts blend faster. Cashews and macadamia nuts become smooth faster than almonds or peanuts.
Flavor Variations to Try
Once you master the base recipe, experiment with these popular variations:
Chocolate Almond Butter Add 2 tablespoons of cocoa powder and 1 tablespoon of honey before your final blend. Rich, chocolatey, and naturally sweetened.
Cinnamon Peanut Butter Stir in half a teaspoon of cinnamon and a drizzle of maple syrup. Perfect on toast or apple slices.
Spicy Cashew Butter Add a pinch of cayenne pepper and a small pinch of sea salt. Great for savory dishes and dipping sauces.
Vanilla Hazelnut Butter Use roasted hazelnuts. Add half a teaspoon of pure vanilla extract and a teaspoon of coconut sugar.
How to Store Homemade Nut Butter
Proper storage keeps your nut butter fresh and safe to eat.
- At room temperature: Homemade nut butter lasts about 1 week on the counter in a sealed jar. Keep it away from heat and sunlight.
- In the refrigerator: It stays fresh for up to 3 to 4 weeks. The cold may make it thicker. Just let it sit at room temperature for a few minutes before using.
- In the freezer: Nut butter freezes well for up to 3 months. Freeze it in small portions for easy use.
Natural oils will separate over time. This is normal. Just stir it back together before serving.
Frequently Asked Questions
Can I make nut butter in a regular blender? Yes, but it takes more time and patience. Blend in short bursts. A high-powered blender gives better results.
Do I need to add oil to make nut butter? No. Most nuts release enough natural oil on their own. Adding coconut oil is optional and only needed if your nut butter feels too dry.
Why is my nut butter grainy? You may not have blended it long enough. Keep going. The texture will smooth out as the oils continue to release.
Can I use raw nuts instead of roasted? Yes. Raw nuts work fine. Roasting just adds deeper flavor and helps the process go a little faster.
Is homemade nut butter healthier than store bought? Generally, yes. Homemade versions have no added preservatives, emulsifiers, or unnecessary sugars. You choose exactly what goes in.
Final Thoughts
Making nut butter in a blender is one of the most satisfying kitchen projects. It takes less than 10 minutes and tastes far better than anything from a jar at the grocery store.
Start with peanuts or cashews if you are a beginner. They blend the easiest. Then move on to almonds or mixed nut butters as you get comfortable.
Fresh, creamy, and made by you. It does not get better than that.