Last Updated on June 19, 2026 by Kathay Lee
Why Cleaning Your Blender Matters
Blenders touch raw fruits, vegetables, dairy, and proteins daily. Left uncleaned, residue builds up fast. This creates a breeding ground for harmful bacteria like E. coli and Salmonella.
Beyond safety, old food residue changes the flavor of your next smoothie or sauce. A clean blender also lasts much longer. Blade corrosion and gasket wear happen faster when food particles sit inside.
What You Need
You do not need special products. Most items are already in your kitchen.
Basic supplies:
- Dish soap
- Warm water
- White vinegar
- Baking soda
- A soft bottle brush or sponge
- Microfiber cloth
Avoid steel wool or abrasive scrubbers. They scratch the jar and dull the blades.
How to Clean a Blender After Every Use
This method takes less than two minutes. Do it right after blending so food does not harden.
Step 1: Rinse immediately Pour out your blended item. Fill the jar halfway with warm water.
Step 2: Add dish soap Add two or three drops of dish soap.
Step 3: Blend it clean Place the lid on. Run the blender for 30 to 60 seconds on high speed. The soapy water scrubs the inside walls and blades automatically.
Step 4: Rinse and dry Empty the soapy water. Rinse with clean warm water. Dry with a microfiber cloth or let it air dry with the lid off.
This self-cleaning trick works well for smoothies, protein shakes, and light soups.
How to Deep Clean a Blender
Do a full deep clean once a week or after blending sticky or strong-smelling ingredients like garlic, turmeric, or nut butters.
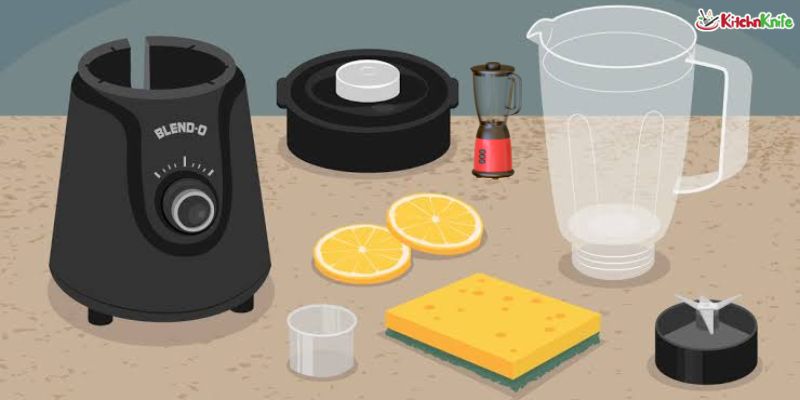
Step 1: Disassemble the blender Remove the jar from the base. Take off the lid, lid cap, rubber gasket, and blade assembly if it detaches.
Step 2: Hand wash each part Wash the jar, lid, and gasket in warm soapy water. Use a soft bottle brush to scrub around the blades. Be careful with blade edges, they are sharp.
Step 3: Rinse all parts Rinse each piece thoroughly under running water. Soap residue left behind can affect taste.
Step 4: Dry completely Dry every part before reassembling. Trapped moisture causes mold and unpleasant smells.
Step 5: Wipe the base Use a damp cloth to wipe the motor base. Never submerge the base in water. It contains electrical components.
How to Remove Stains and Odors
Blenders can stain from turmeric, berries, and tomatoes. They can smell from garlic or fish.
To remove stains: Fill the jar with equal parts white vinegar and warm water. Let it sit for 15 to 20 minutes. Then blend for 30 seconds. Rinse well. For stubborn stains, make a paste with baking soda and water. Apply it to the stained area and scrub gently.
To remove odors: Blend a mixture of warm water, one teaspoon of baking soda, and a squeeze of lemon juice. Let it sit for five minutes. Then rinse completely.
Sunlight also helps. Place the clean jar in direct sunlight for 30 minutes to neutralize lingering smells naturally.
Parts to Never Forget
Most people focus on the jar but miss key areas.
The rubber gasket: Food collects under this ring. Remove it during deep cleans and scrub both sides.
The blade assembly: Flip the blade unit upside down and scrub under the blade housing where residue hides.
The lid and lid cap: The small cap at the top of the lid traps thick residue. Remove it and wash it separately.
The jar threads: The grooved area where the jar screws onto the base collects old food. Use a small brush to clean the threads each week.
Common Cleaning Mistakes to Avoid
Avoiding these mistakes protects your blender and your health.
Do not soak the blender jar with the blade attached. Water gets inside the blade housing and causes rust and mold.
Do not put the base in the dishwasher. The motor base must stay dry. Wipe it only with a damp cloth.
Do not use boiling water. Extreme heat can warp plastic jars and crack the gasket.
Do not skip drying. Reassembling a wet blender traps moisture and leads to mold inside the gasket seal.
Do not use harsh chemicals. Bleach and strong solvents can degrade rubber and plastic parts.
Tips to Keep Your Blender Clean Longer
Small habits make a big difference.
- Rinse your blender immediately after every use. Do not let food dry inside.
- Blend a cup of warm soapy water right after smoothies or thick blends.
- Store your blender with the lid off. This lets air circulate and prevents musty smells.
- Deep clean every seven days or sooner if you notice odors or discoloration.
- Replace the gasket every six to twelve months. A worn gasket leaks and traps bacteria.
Final Thoughts
Cleaning a blender properly does not take long. A quick 30-second self-clean after each use handles most situations. A thorough weekly deep clean keeps every part fresh and safe.
The key is consistency. Clean it right away, dry it fully, and check the small parts that often get ignored.
A clean blender means better-tasting food, a longer-lasting appliance, and a healthier kitchen overall.