Last Updated on June 18, 2026 by Susanna Zuyeva
Your blender is leaking because something is not sealed correctly. It could be a worn gasket, a cracked jar, or a loose blade assembly.
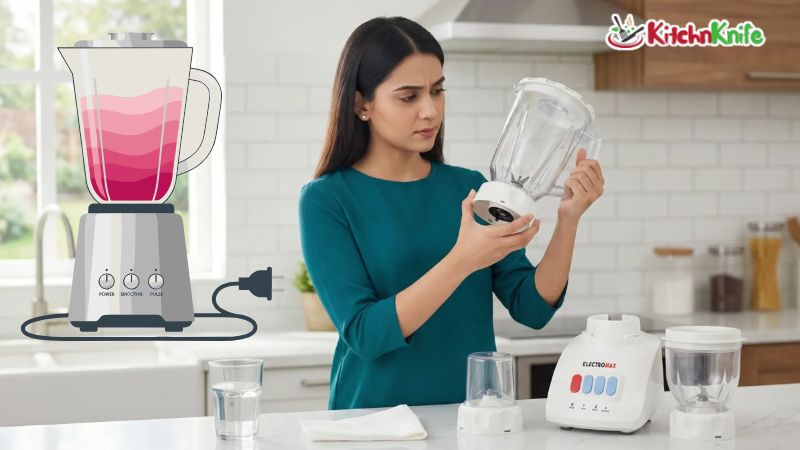
Blender leaks are one of the most common kitchen appliance problems. The good news is that most leaks are easy to fix at home. You do not need a technician.
This guide covers every possible cause and gives you clear steps to fix each one fast.
Common Causes of a Leaking Blender
1. Worn or Damaged Gasket (Sealing Ring)
The gasket is a rubber ring that sits between the blade unit and the jar. Over time, it stretches, cracks, or hardens. When it stops sealing properly, liquid escapes from the bottom.
This is the most common cause of blender leaks.
Signs of a bad gasket:
- Liquid drips from the base of the jar
- The rubber ring looks flat, cracked, or discolored
- You notice a rubbery smell when blending hot items
2. Loose or Damaged Blade Assembly
The blade unit screws onto the bottom of the blender jar. If it is not tightened fully, or if the threads are stripped, it will leak.
Sometimes food particles get stuck in the threads and prevent a proper seal.
3. Cracked Blender Jar
Plastic and glass blender jars can crack from impact or temperature shock. Even a tiny hairline crack causes leaks.
Pour water into the jar and hold it up to the light to spot cracks.
4. Overfilling the Blender
Filling the blender jar above the maximum line forces liquid out through the lid or around the blade seal. This is especially common when blending hot soups or smoothies.
Always stay below the max fill line.
5. Broken or Missing Lid Seal
Some blenders also leak from the top through the lid. This happens when the lid gasket is damaged or the lid does not lock in place correctly.
6. Cracked or Warped Base Coupling
The coupling connects the blade to the motor. A cracked coupling can cause both mechanical and leaking issues.
How to Fix a Leaking Blender (Step by Step)
Step 1: Identify the Leak Source
Fill the jar with water only. Place it on a paper towel. Run the blender for 30 seconds. Check where the water appears.
- Wet paper towel under the jar: blade or gasket issue
- Wet towel around the motor base: cracked jar or coupling
- Wet towel near the lid: lid seal issue
Step 2: Replace the Gasket
- Unscrew the blade assembly from the jar
- Remove the old gasket from the groove
- Clean the groove with warm soapy water and dry it
- Press a new gasket firmly into place
- Reassemble and test with water
Replacement gaskets cost between $3 and $10. Search your blender brand and model number with the word “gasket” to find the right one.
Popular brands like Vitamix, Ninja, Oster, and Cuisinart all sell official replacement parts.
Step 3: Tighten or Replace the Blade Assembly
- Hand tighten the blade unit as firmly as possible
- Check the threads for damage or debris
- Clean threads with a toothbrush and warm water
- If threads are stripped, order a replacement blade assembly
Step 4: Inspect and Replace the Jar
Hold the jar up to bright light and rotate it slowly. If you see any crack, replace the jar. Do not blend with a cracked container. It is a safety risk.
Step 5: Fix the Lid Seal
Remove the lid gasket. If it is flat or brittle, replace it. Press a new one in and test the seal before blending.
When to Replace Blender Parts
You should replace parts instead of the whole blender when:
- The jar is cracked but the motor works fine
- The gasket is worn but the jar and blade are in good shape
- The blade is dull or wobbling
You should consider replacing the entire blender when:
- The motor makes grinding or burning smells
- Multiple parts are damaged at the same time
- The blender is more than 7 to 10 years old and parts are no longer available
Tips to Prevent Blender Leaks
Follow these habits to keep your blender leak free:
- Do not overfill. Stay below the max fill line marked on the jar.
- Tighten the blade before every use. A quick hand tighten takes two seconds.
- Let hot liquids cool slightly. Never blend boiling liquid in a sealed jar.
- Clean after each use. Residue on threads and gaskets causes early wear.
- Inspect the gasket monthly. Replace it once a year as routine maintenance.
- Avoid putting blender jars in the dishwasher repeatedly. High heat degrades rubber seals faster.
Frequently Asked Questions
Can I use my blender if it is leaking? No. Stop using it until you find and fix the leak. Liquid near the motor creates an electrical hazard.
How long does a blender gasket last? Most gaskets last 1 to 3 years with regular use. Replace it sooner if you blend acidic foods often, as acid breaks down rubber faster.
Are blender parts universal? No. Parts are model specific. Always use your blender brand and model number when ordering replacements.
Why does my blender only leak when blending hot liquids? Heat expands both liquid and plastic. This puts extra pressure on seals. A gasket that barely seals with cold liquid will leak with hot liquid.
Is a leaking blender covered under warranty? Check your warranty. Most brands cover manufacturing defects for 1 to 5 years. Wear and tear is usually not covered, but it is always worth contacting the brand.
Final Thoughts
A leaking blender almost always comes down to one of three things: a worn gasket, a loose blade assembly, or a cracked jar.
Start by identifying where the leak is coming from. Then fix or replace the specific part. Most repairs cost under $15 and take less than 10 minutes.
Regular maintenance keeps your blender running well for years. A monthly inspection of the gasket and blade assembly is all it takes.