Last Updated on June 16, 2026 by Susanna Zuyeva
Your kitchen trash can works hard every single day. It holds food scraps, packaging, and other waste. Over time, it can build up grime, bacteria, and bad smells. Cleaning it regularly keeps your kitchen fresh and safe for your family.
In this guide, you will learn simple ways to clean your trash can like a pro. No fancy tools needed. Just a few household items and a little time.
Why Cleaning Your Trash Can Matters
A dirty trash can is more than just an eyesore. It can become a breeding ground for bacteria, mold, and pests. Bad smells can spread through your kitchen and even stick to nearby surfaces.
Regular cleaning helps you:
Stop bad odors before they start Reduce the risk of germs spreading to food areas Keep pests like flies and ants away Extend the life of your trash can
A clean bin also makes your whole kitchen feel more hygienic. That matters for your health and your peace of mind.
Supplies You Will Need
You probably already have everything you need at home. Here is a simple list:
Dish soap or an allpurpose cleaner Warm water A scrub brush or old sponge Baking soda White vinegar Rubber gloves A garden hose or large tub (for outdoor cleaning)
These items are affordable, easy to find, and safe for most surfaces.
Step by Step Cleaning Process
Follow these steps for a deep clean that removes dirt, grime, and odor.
- Empty the Can Completely
Remove the trash bag and any loose debris. Check the bottom for spills or stuck on food bits.
- Take It Outside
If possible, move the can outdoors or into a bathtub. This makes rinsing much easier and keeps mess contained.
- Rinse With Water
Use a hose or bucket to rinse out loose dirt and crumbs. This first rinse removes the worst of the mess.
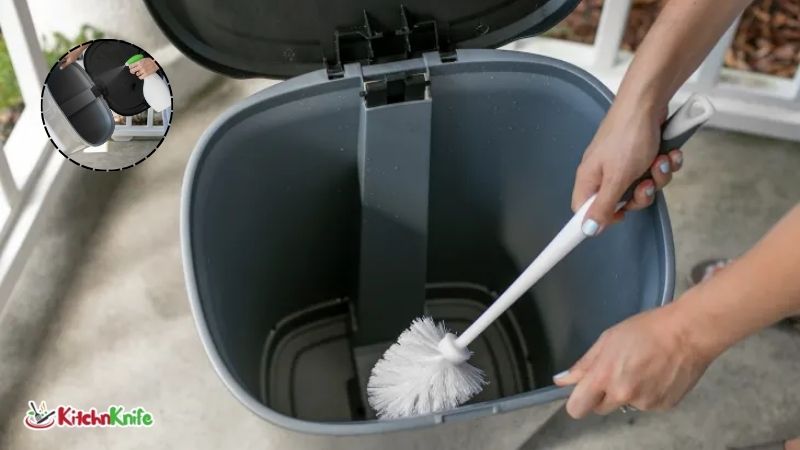
- Scrub With Soap and Water
Mix warm water with dish soap. Dip your scrub brush in and scrub the inside, outside, lid, and rim. Pay close attention to corners and the bottom seam, where grime tends to collect.
- Tackle Tough Stains With Baking Soda
For sticky spots or stains, sprinkle baking soda directly on the area. Let it sit for ten minutes, then scrub again.
- Disinfect With Vinegar
Spray or pour white vinegar over the surfaces. Vinegar kills bacteria and helps remove lingering smells. Let it sit for five to ten minutes before rinsing.
- Rinse Thoroughly
Rinse the can fully to remove all soap and vinegar residue.
- Dry Completely
Let the can air dry in the sun if possible. Sunlight helps kill germs naturally. Make sure it is fully dry before adding a new bag.
Tips to Prevent Bad Smells
Once your trash can is clean, keep it that way with these simple habits.
Line it properly. Always use a sturdy trash bag that fits well. This prevents leaks and spills.
Sprinkle baking soda at the bottom. A thin layer absorbs odors between cleanings.
Take out trash often. Do not let bags sit too long, especially with food waste inside.
Wipe spills right away. If something leaks, clean it up immediately instead of waiting.
Use a lid. A closed lid helps trap smells and keeps pests out.
These small steps make a big difference in keeping your kitchen smelling fresh.
How Often Should You Clean It
Most kitchen trash cans should be cleaned every one to two weeks. If you notice a strong smell, visible stains, or sticky spots, clean it right away.
Homes with pets, young children, or those who cook meat often may need to clean more frequently. Trust your nose. If it smells off, it is time for a wash.
Final Thoughts
Cleaning your kitchen trash can does not have to be a chore. With a few basic supplies and a little routine, you can keep it fresh, clean, and germ free.
A clean trash can supports a healthier kitchen overall. It reduces odors, keeps pests away, and gives you peace of mind. Make it part of your regular cleaning routine, and your kitchen will thank you.
Small efforts like this add up to a cleaner, happier home.